How to install the app
To install the app, follow this link: https://app.postpurchase.net. Enter your *.myshopify.com to begin the installation process.
If you’re already logged into your Shopify dashboard, you’ll see a confirmation screen such as the one below:
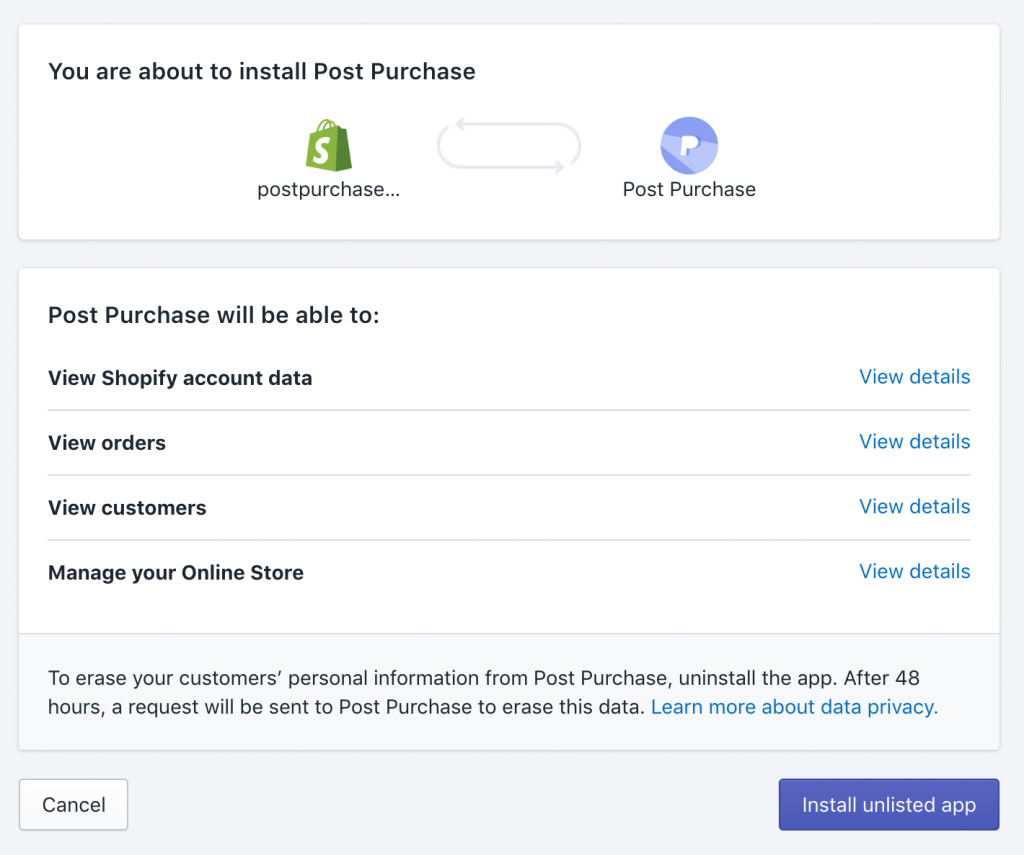
Note: If you aren’t currently logged in, proceed to login to your Shopify dashboard and then you’ll be redirected to the above screen.
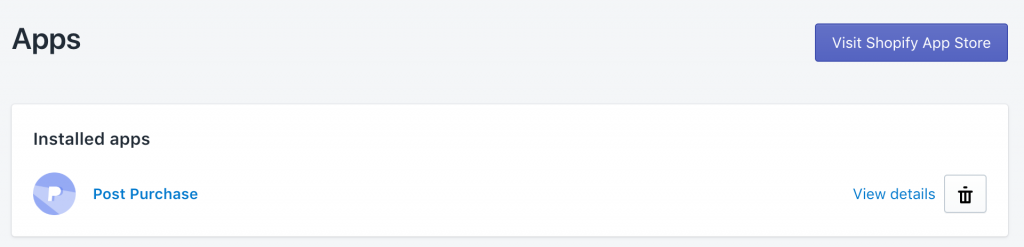
There’s no theme modifications necessary to install the app, files to edit, or snippets of code to enter into your Shopify checkout settings. Once installed, you’ll see the app listed in your Apps section of your Shopify dashboard:
Setting up your survey
When you first install the app, Post Purchase sets up a single question for you already:
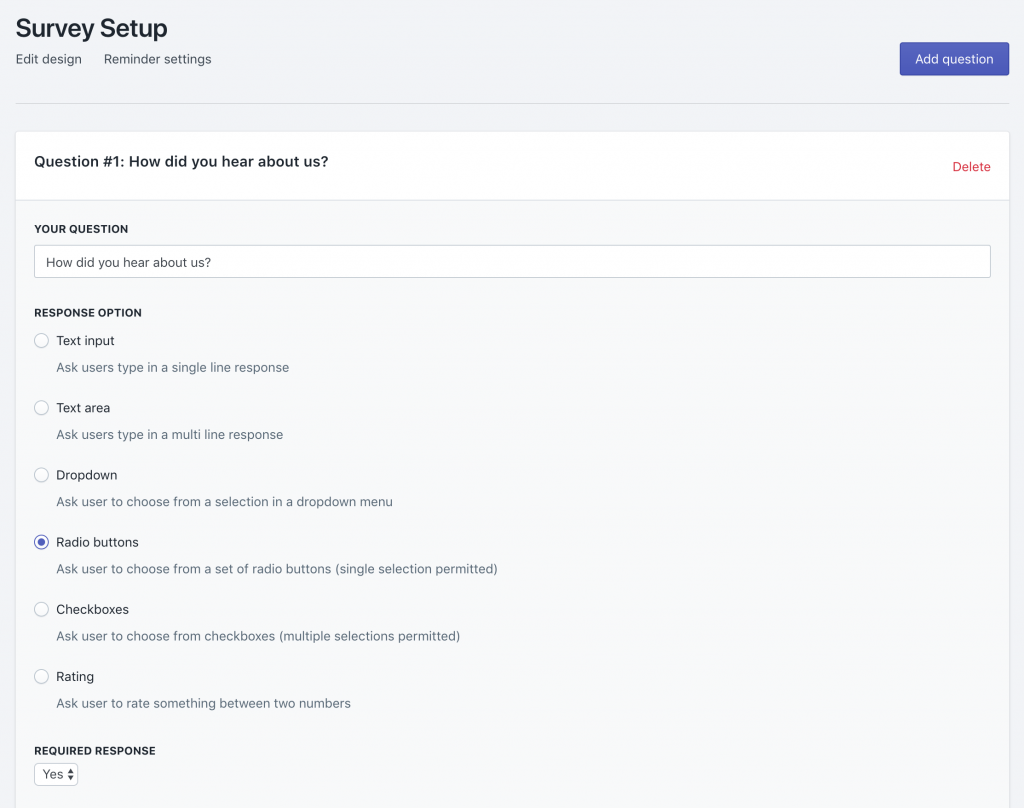
To remove a question, click on Delete. A popup will appear to ask you to confirm that you want to delete the question.
To add a new question, click on Add question. You will see a modal popup:
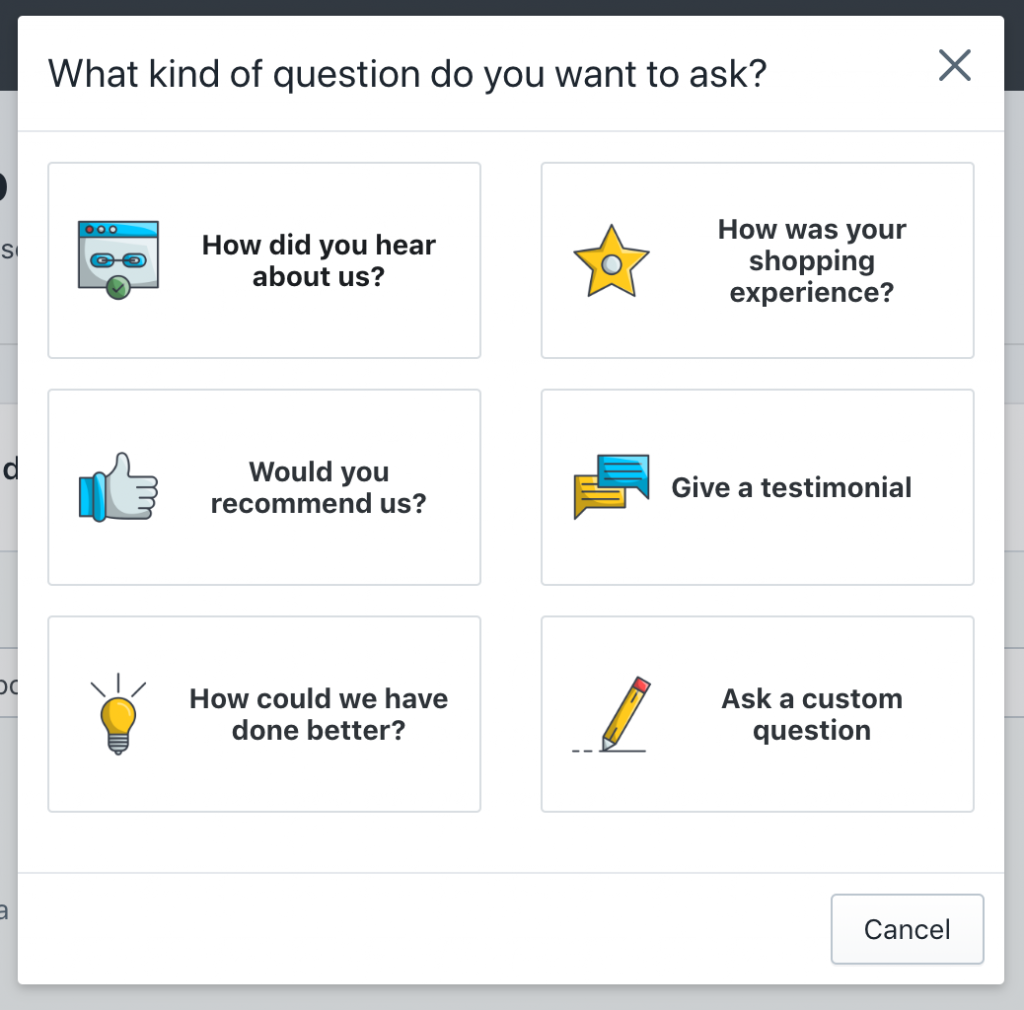
If you already know what question you want to ask, click on Ask a custom question. Otherwise you can click on one of the presets and customize your question.
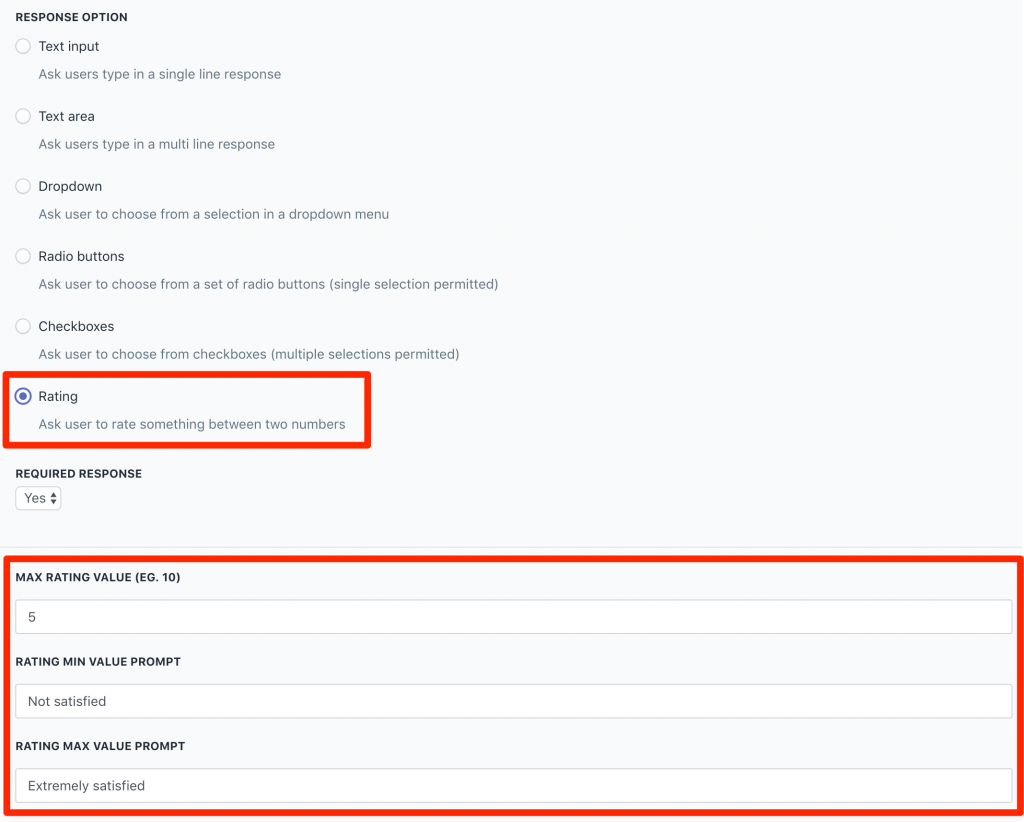
To set up the question, you can select the response you expect the customer to provide:
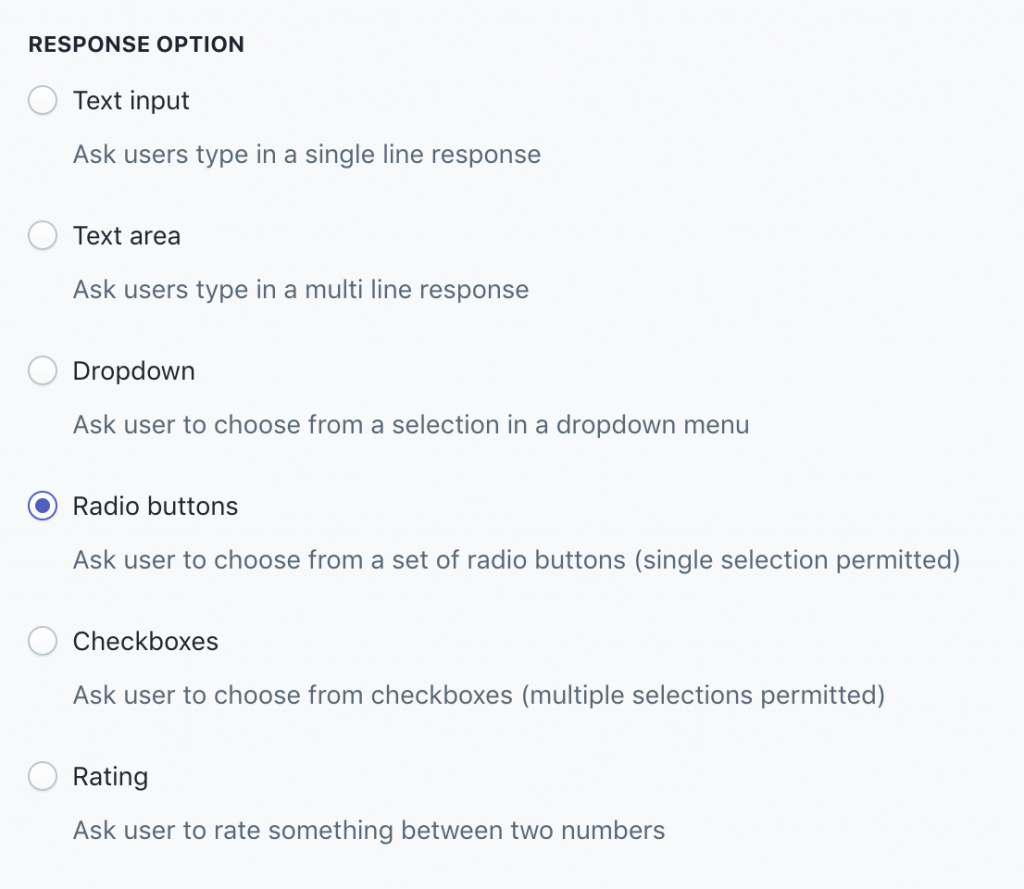
There are 6 options available:
- Text input
- Text area
- Dropdown
- Radio buttons
- Checkboxes
- Rating
Beside each option is a short description of what the response type might be good for.
If you require the response, select it in the next section:
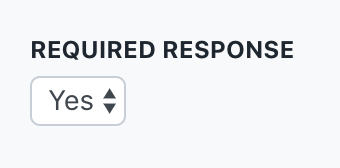
Depending on the type of response you’ve selected, other set up options are made available.
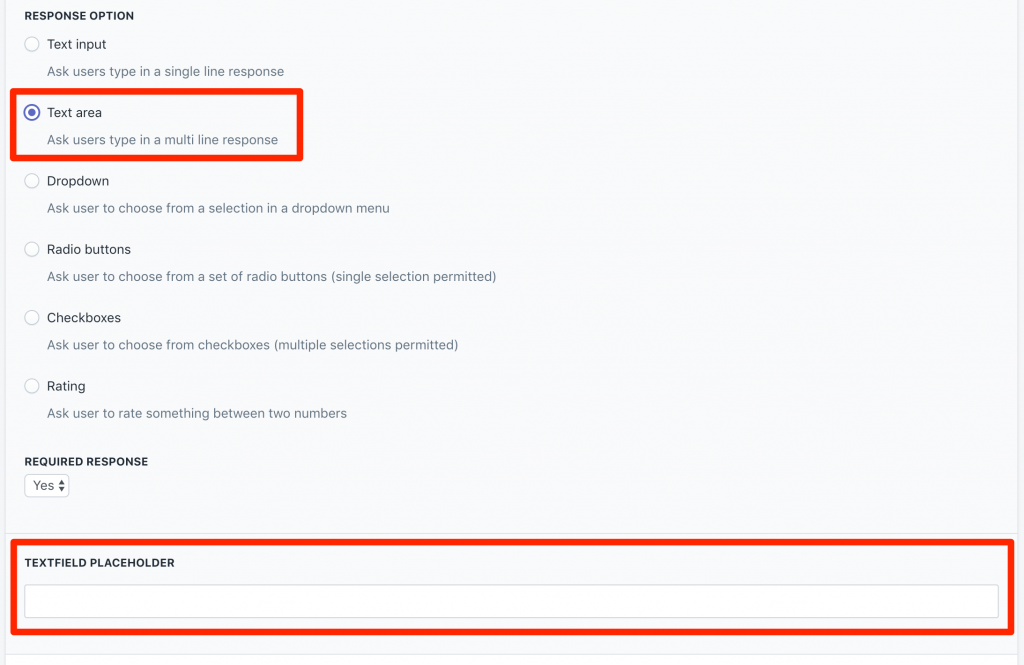
For text input and text area response types, you will see the following options:
- Textfield placeholder
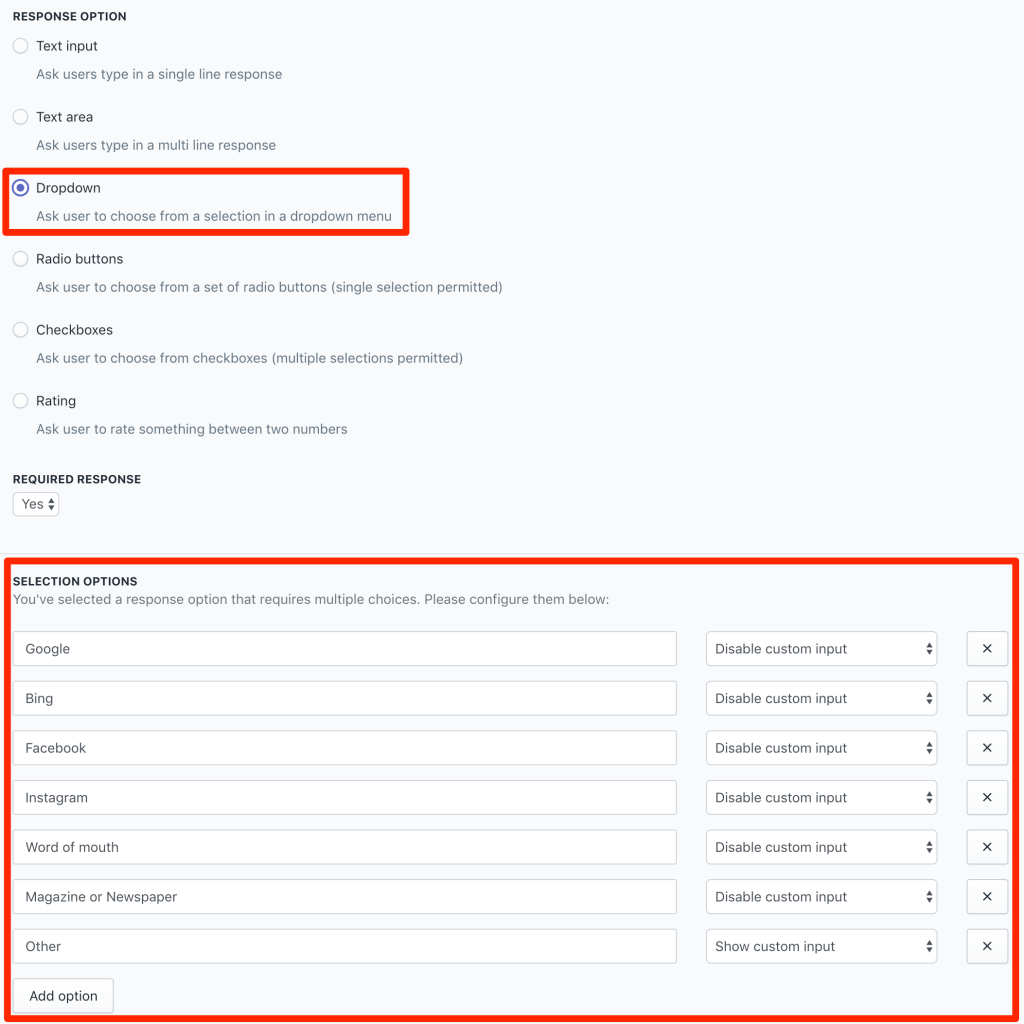
For dropdown, radio buttons, and checkboxes, you will see the following options:
- Selection options to display to the customer
For rating, you will see the following options:
- Max rating value
- Min value prompt
- Max value prompt
Remember to click Save once you’re done setting up your questions.
Tip: We don’t recommend asking the user too many questions. A simple 1 or 2 question will receive a higher response rate than a lengthy survey.
Customizing survey appearance
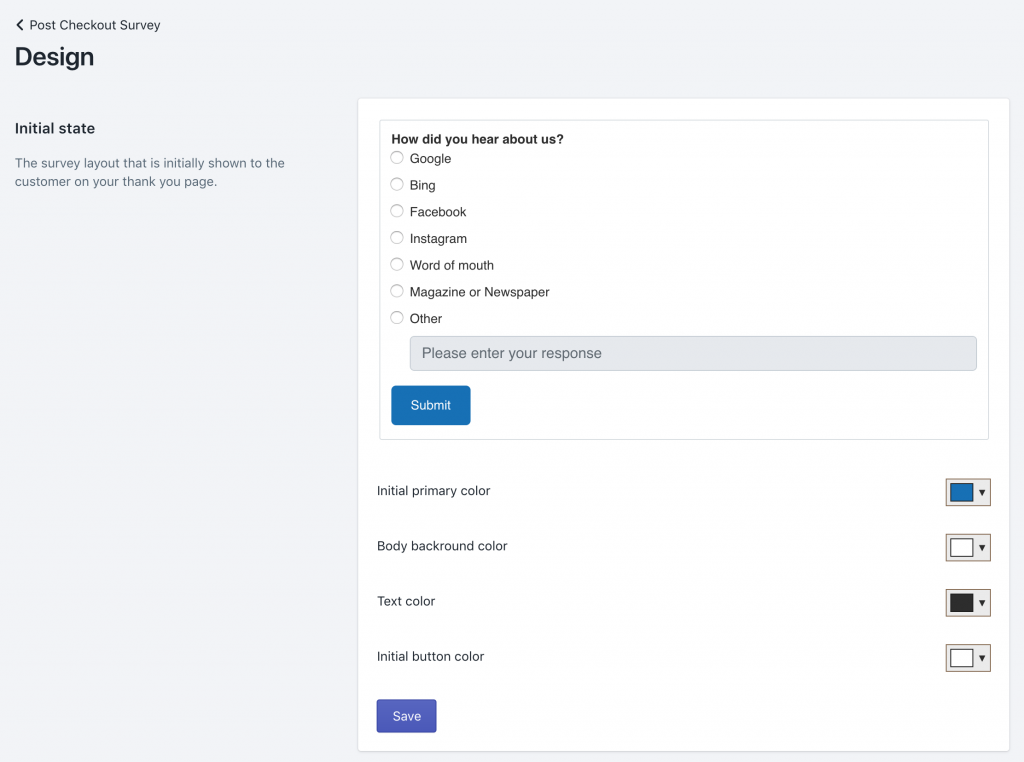
You can click on Edit design to customize the appearance of the survey.
The design is set up to match Shopify’s default checkout page. However, you can specify the colours for the text, background, and the button.
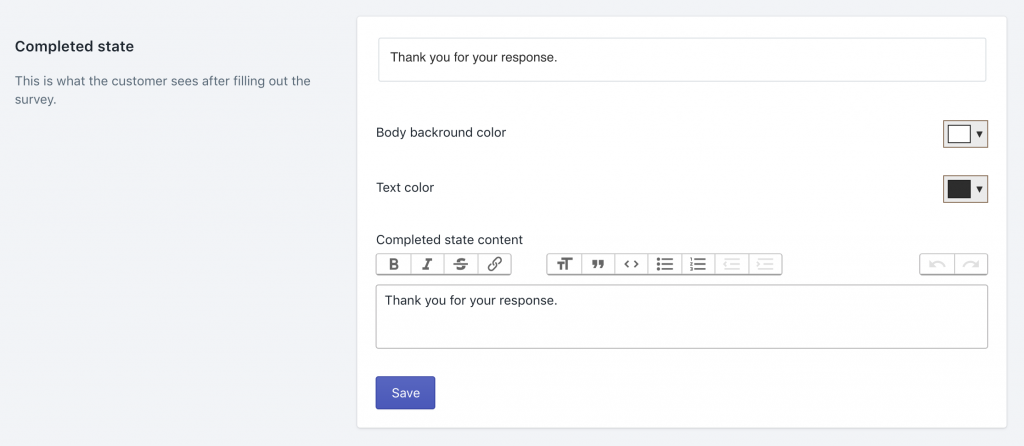
When the survey is completed, a Completed State is shown to the customer. You can specify a message here which will replace the survey questions upon form submission.
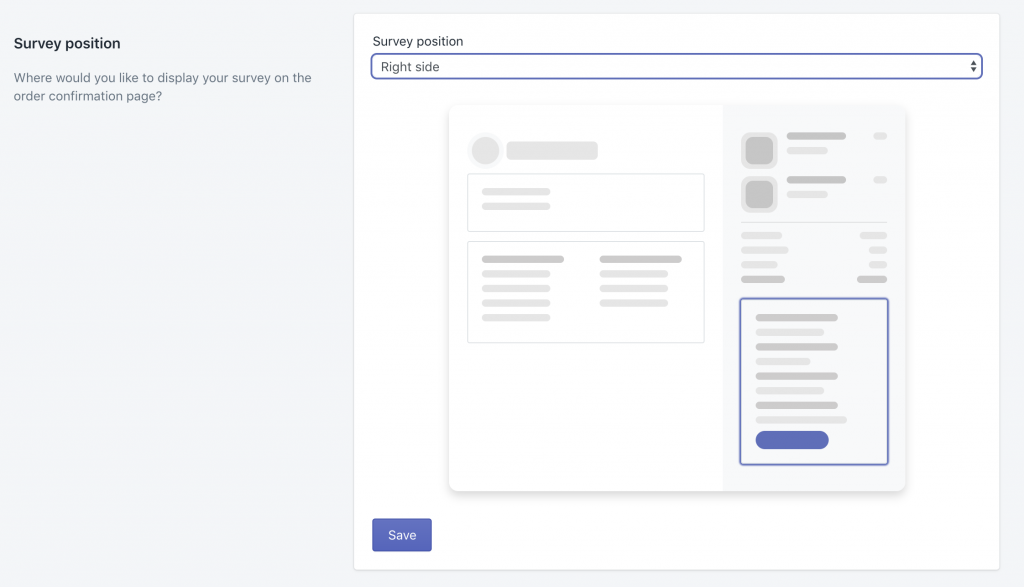
You can also modify the position of the survey itself:
Enabling Survey Reminders
On the Business plan, the Post Purchase app can send a survey reminder to your customers. Click on Reminder Settings in the Post Checkout Survey view.
You’ll see the following screen:
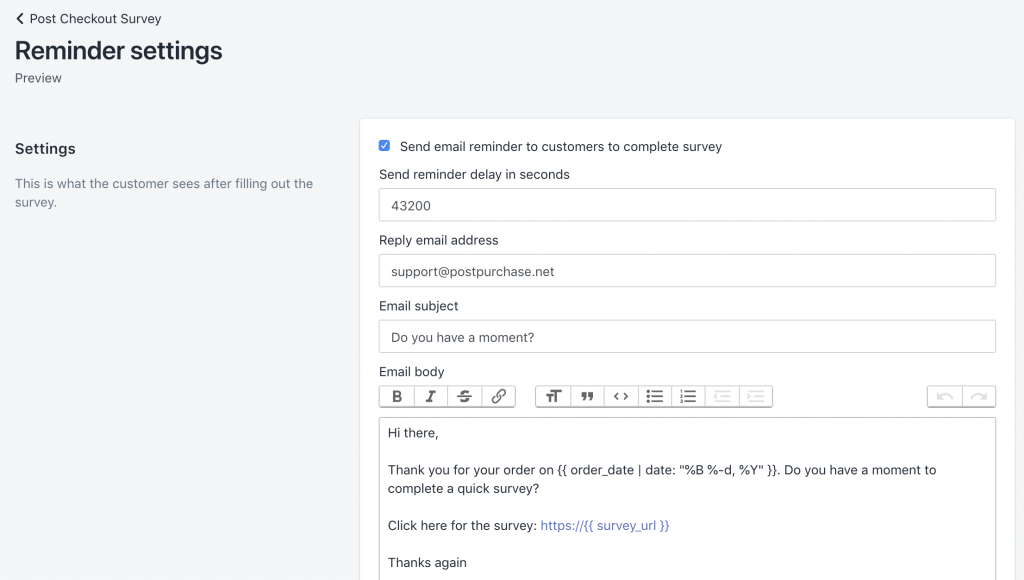
To activate email reminders, click on Send email reminder to customers to complete survey and click Save.
Note: When you activate send email reminders, the updated setting will only apply to orders from that point forward.
Note: To ensure high deliverability, by default emails sent from the app has a From address of no-reply@yourdomain-myshopify-com.mail.postpurchase.net, where your-domain is your Shopify domain. The default setting for the app utilizes our own SMTP relay server to send these outgoing emails, and so the From address needs to correspond to our outbound mail domain of mail.postpurchase.net. If you would like to customize this address, you’ll need to use your own SMTP server, which can be set in the Settings section.
For the reminders, you can customize the following parameters:
- Reply email address
- Email subject
- Email body
- Delay (number of seconds before reminder is sent)

By default, the delay is set to be sent in 12 hours (43200 seconds).
The email body has access to the following Liquid variables:
- order_date
- survey_url
- unsubscribe_url
When the email is sent, the app will replace the order_date with the date of the order, the survey_url with the location of where the customer can fill out the survey (eg. https://yourdomain.myshopify.com/a/postpurchase/surveys), and an unsubscribe link to inform the app that the customer does not want to receive any further emails.
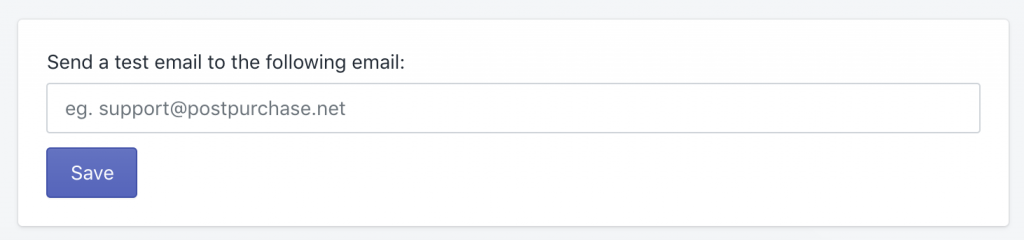
After you’ve clicked Save, you can send a test email to yourself to see what the email looks like for your end-users. To send a test email, go to Send a test email to the following email and type in your email address. Then, click Send.
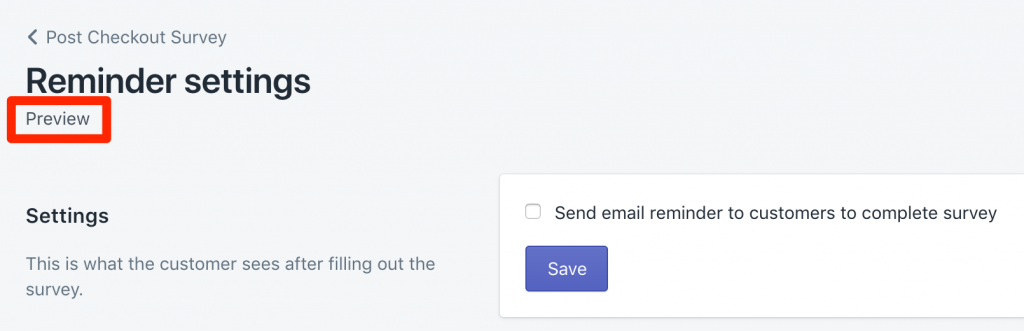
You can also Preview the email by clicking on the Preview link at the top:
Using your own SMTP server
For our users who are on our Business Plan, Post Purchase can send reminder emails to your customers to complete their surveys. When email reminders are enabled, Post Purchase will send your emails using our own email service provider. However, you may wish to use your own SMTP server.
Here are the reasons why you might want to use your own SMTP server:
- Customize your From email
- Manage your email deliverability
To use your own SMTP server, go to Survey Setup and click on Reminder Settings.
At the bottom of the page, you will see Custom SMTP settings:
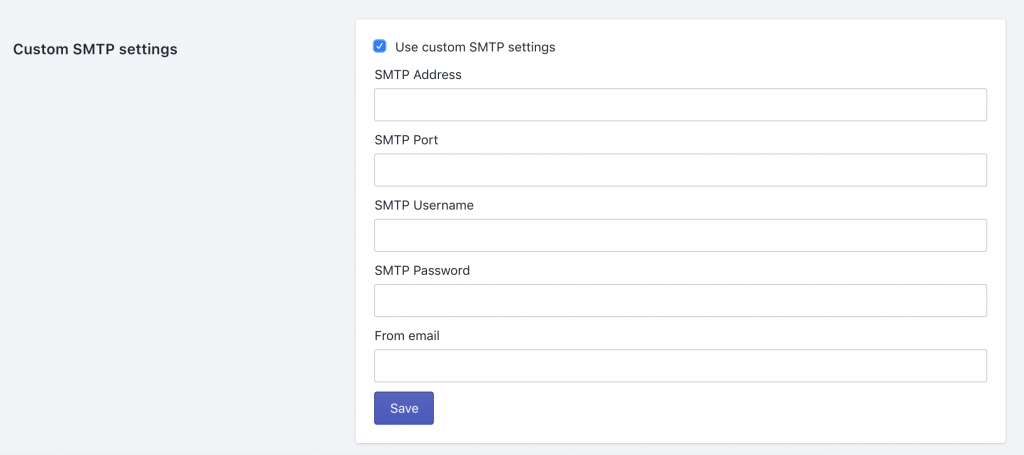
Enter your SMTP credentials here, and pay attention to adding extra spaces before or after the SMTP Username and SMTP Password.
Once you click Save, you will be able to send yourself a test email to verify that the set up has been completed properly.
Viewing response analyses
Once you’ve begun receiving responses, you can start viewing analytics for the responses that you’ve received. Clicking on Analysis in the app’s menu will display aggregated response data.
In the Analysis section of the app, you will see all your questions (including the ones that you have deleted) and their response rates. Clicking on the question will lead you to a more detailed page with additional details.
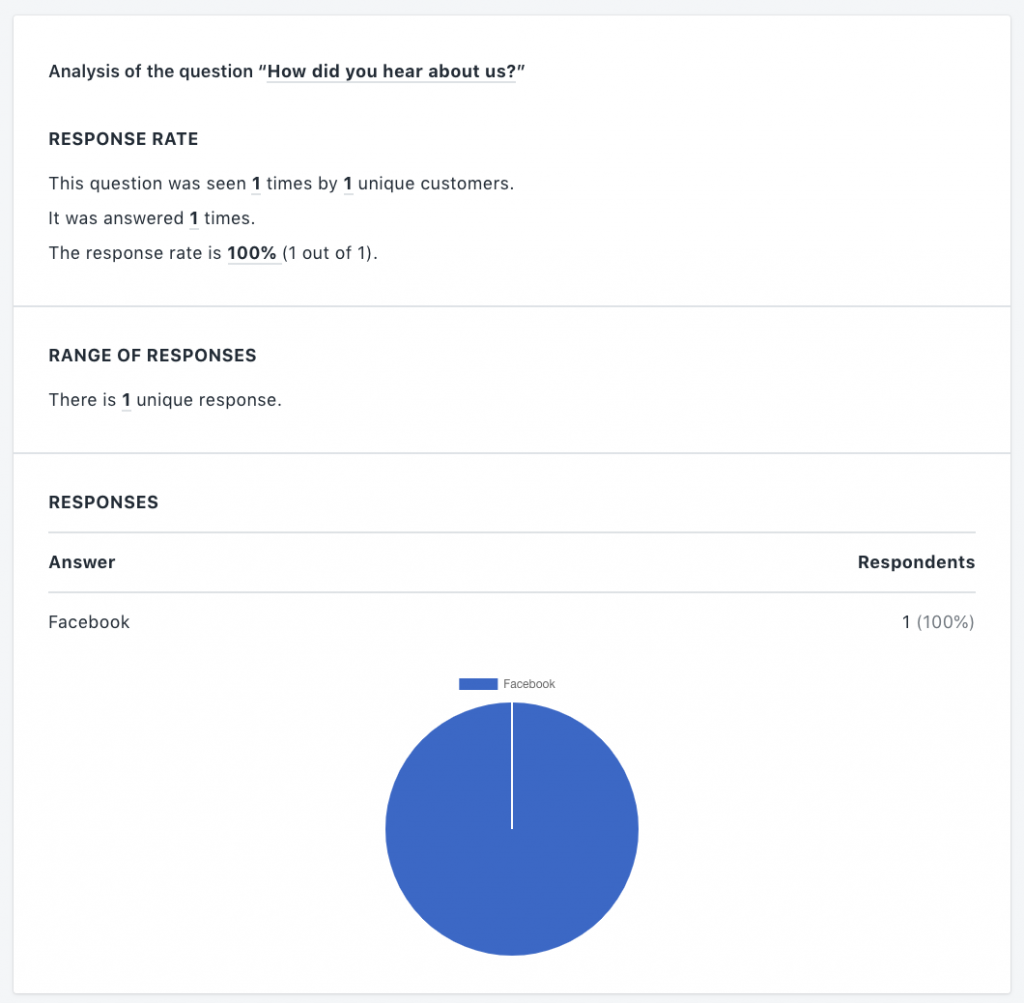
The detail analysis view shows:
- Number of views made by unique customers
- Number of views in total (including repeated views)
- Number of responses and response rate
- Range of responses
- Graphical representation
Viewing individual order responses
You will also be able to view the responses of specific orders. This is useful if you want to gain better insights from specific customers. To view orders, click on Orders in the app’s menu:
Orders are shown in descending order from the date they are created (ie. received from Shopify).
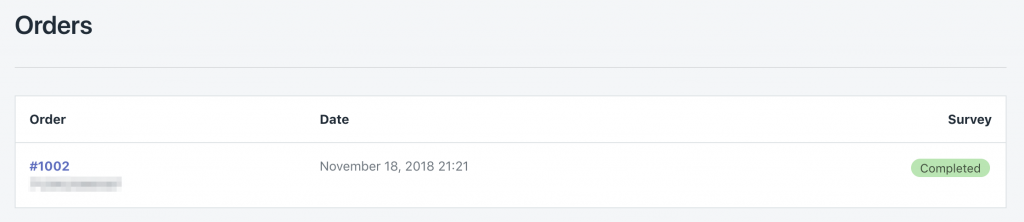
Clicking on the order will display an order details page where you’ll be able to see which questions were shown to the customer and their answers. If the customer has not yet answered, the app will let you know.
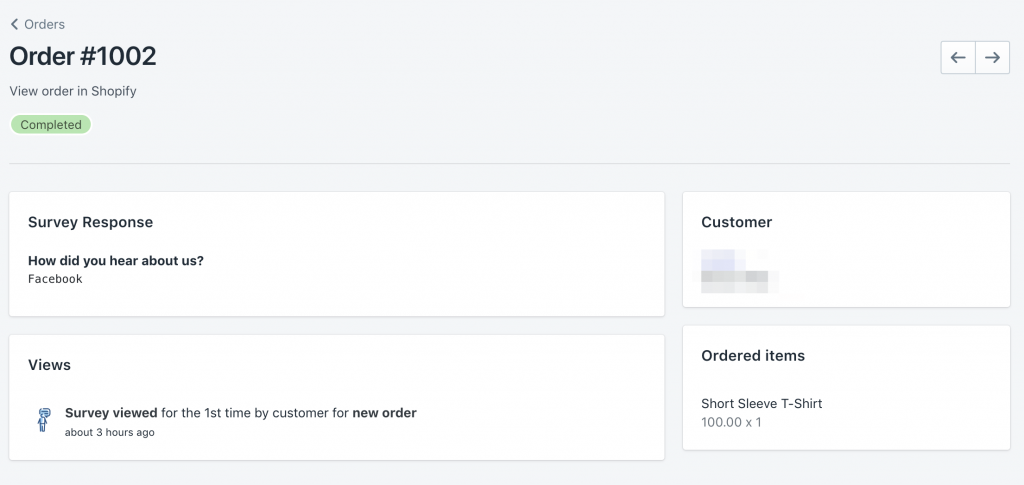
The details that are shown:
- Specific customer responses
- Basic customer email contact
- When the customer has viewed the survey
- Items the customer ordered
- Direct link to the order in the Shopify dashboard
Note: If a customer does not complete the survey and you have changed the survey in the meantime, when the customer returns to complete the survey (eg. by clicking on the reminder email or by visiting the order status page), the newer and current survey will be shown.
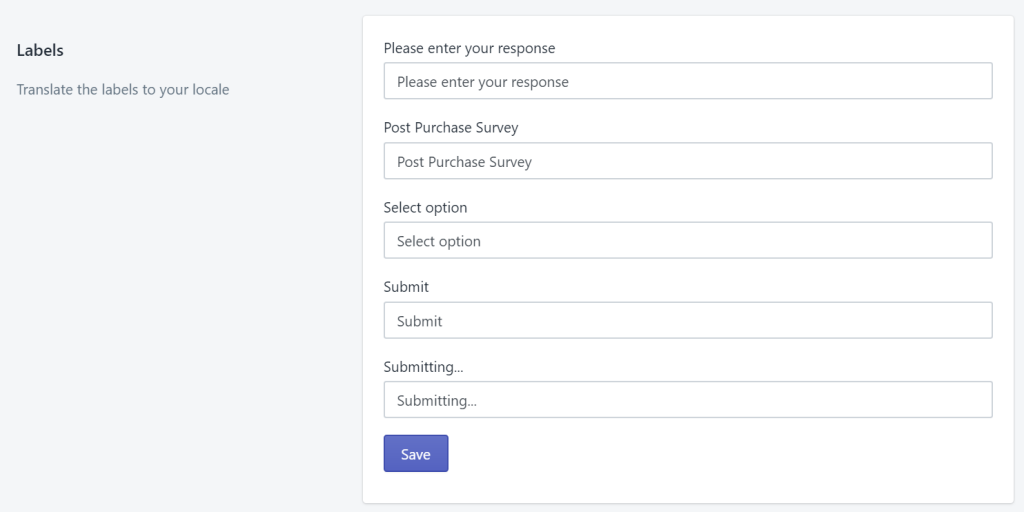
Editing labels
Certain labels (eg. Submit button label) can be set to fit the locale of your shop. To edit these labels, go to Settings and you will see a number of labels you can edit:
General Data Protection Regulation (GDPR)
Protecting end user privacy is of utmost importance. We believe it is the basis on which internet commerce needs in order to thrive.
When a request is initiated by a customer from Shopify, we will receive the data request on your behalf and will process the request to either:
- Redact and remove the data from our database and server logs
- Provide a complete copy of the customer’s data
Because we have built Post Purchase with best practices in mind, GDPR compliance is easy when it comes to you and your customers’ data in the app.
Changing plans
When you install the app, you’re automatically placed on the Free Plan.
You can change the plan you’re currently on by going to the Billing section in the app’s dashboard. There, you’ll be able to see our currently available plans:
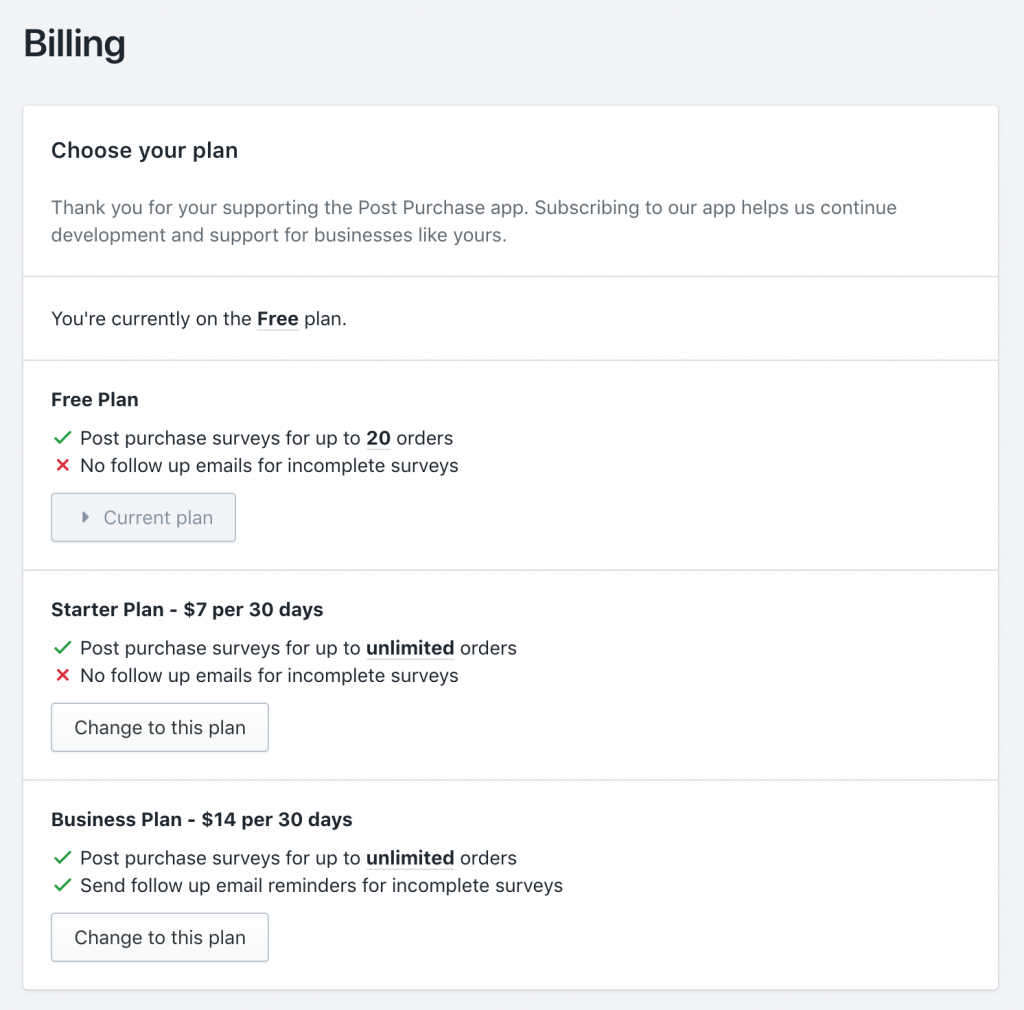
The features for each plan and the respective billing per 30 days are shown. The first day of billing is the day you change the plan.
Understanding billing
Post Purchase comes with a free plan that is limited to 20 order per 30 days. This means that when customers checkout, only the first 20 completed checkouts will be shown the post checkout survey.
If you’re on the free plan and you subscribe to a paid plan, your billing will begin immediately. If you’re already on a paid plan and you change to another plan, any unused portion of your previous plan will be credited. For instance, if you’re on the $7 plan and you’re only 15 days through your billing period, you will be credited approximately $3.50.
Note that Shopify handles the billing and the Post Purchase app simply informs Shopify to perform the application charge or credit. The actual amount charged and refunded might differ due to exchange rate differences and the timing of your plan change. If you have specific questions about your billing, please contact Shopify support.
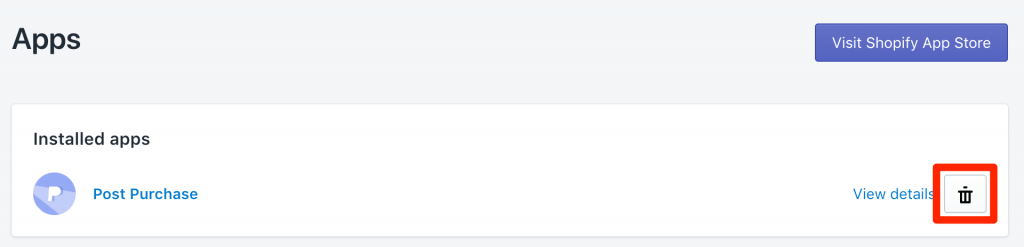
How to uninstall the app
To uninstall the app, go to the Apps section in your Shopify dashboard. Find Post Purchase and click on the trash can to remove the app.
Note: If you’re on a paid plan, it’s recommended that you first downgrade to the free plan so we can credit your account with unused portion of your monthly plan.
Manual Script Installation
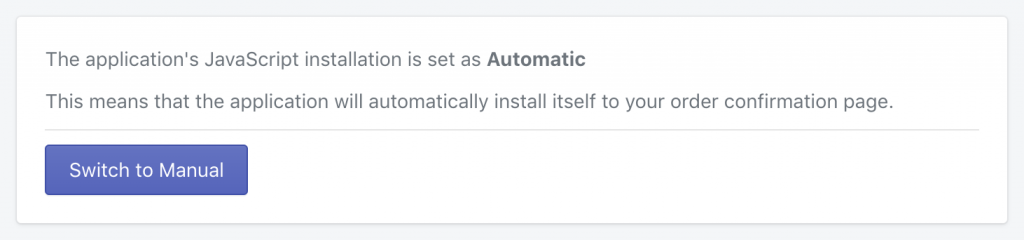
The Post Purchase App automatically installs itself by default using Shopify’s API system.
In some cases, you may want to manually install the JavaScript. To do so, go to Settings and enable Manual installation:
Once you enable manual installation, you will need to complete a few extra steps to complete the installation.
- From your Shopify admin, go to Settings > Checkout.
- In the Order processing section, find the Additional scripts text box:
- Copy and paste the following code to the above Additional scripts text box:
<script src="https://app.postpurchase.net/js/shopify/loader.js"></script>